Setting up a Jupyter Notebook Server#
Open your OctaiPipe Portal in a web browser, the url should be of the form:
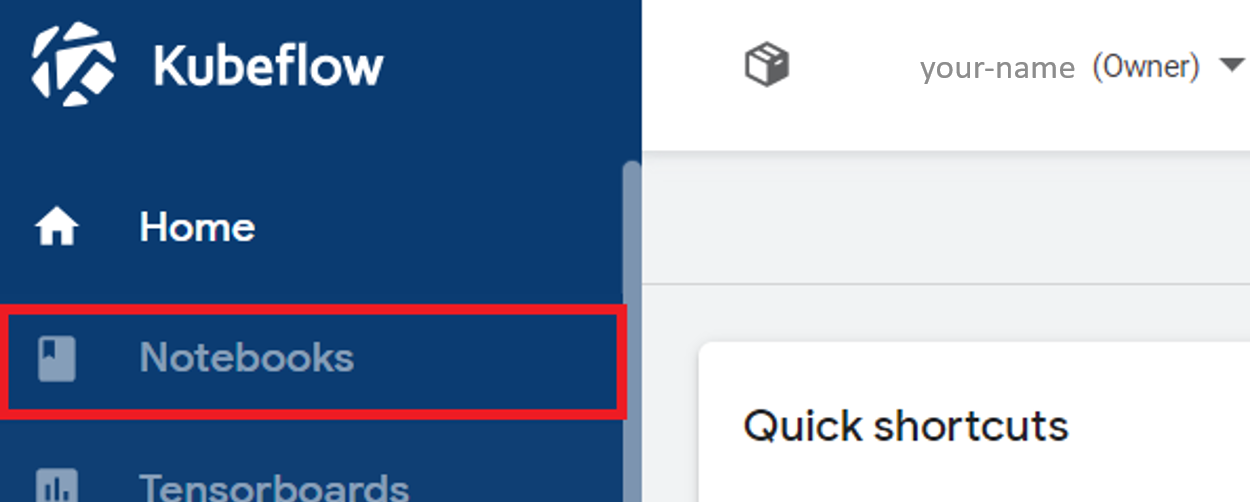
https://app.your-company.octaipipe.ai/Log in and set up a namespace with your name. This should take you to the Kubeflow main page where you can head over to Notebooks selected from the left-side menu.
To directly access the notebook, go to
https://notebook.your-company.octaipipe.ai
Creating a New Notebook#
Create a new Notebook by clicking New Notebook in the top-right corner.

Give the Notebook Server a name by filling in the first field.
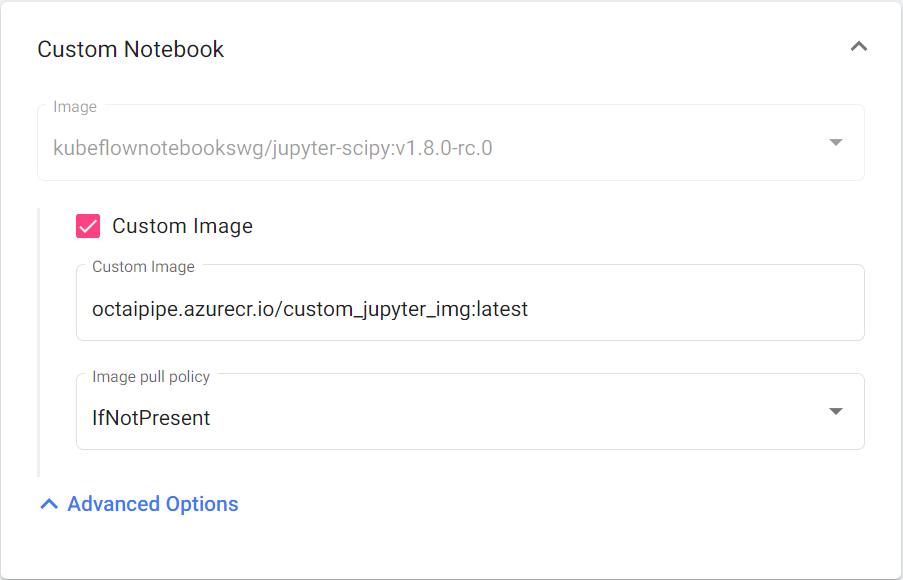
Under Custom Notebook select Advanced Options > Custom image and enter
octaipipe.azurecr.io/custom_jupyter_img:latestin the custom image field. You can also choose a specific OctaiPipe version instead of thelatestimage. Check here for a full list of OctaiPipe images.
Specify the CPU and RAM resources to allocate to the Notebook. We recommend giving at least 1 CPU and 2 GB RAM, this will be sufficient to use all OctaiPipe functionality. The maximum default resources are 1.5 CPU and 4GB RAM. If you intend to run additional workloads directly on the Notebook itself either specify a larger node VM size during installation or contact OctaiPipe support for help spinning up a larger node after installation.

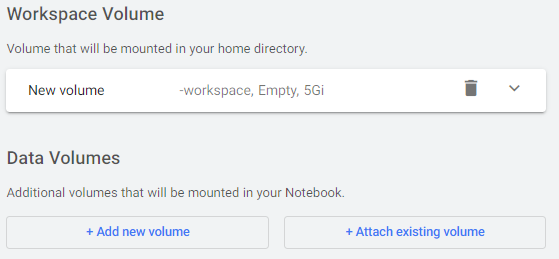
Specify the disk space needed by your notebook. The default 5gig should be sufficient unless you need to store large datasets on the notebook server. You can create a new or attach to an existing volume.
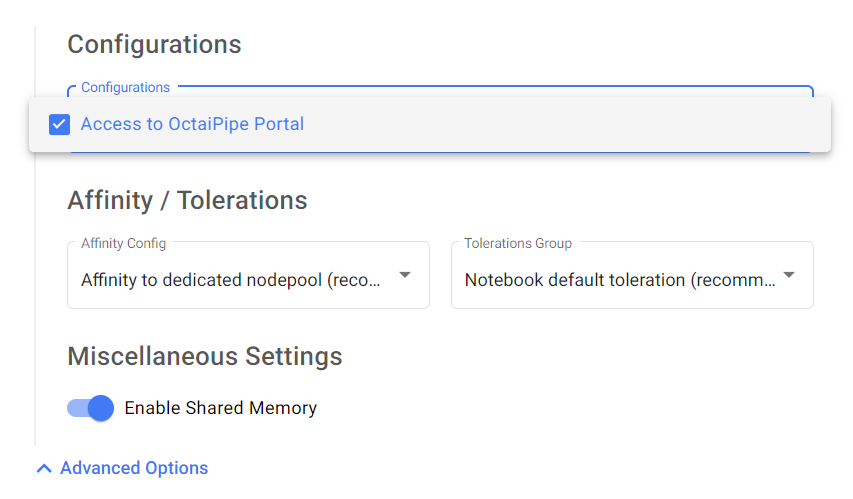
Scroll down to the bottom and click Advanced Options.
Under Configurations click the dropdown menu and select Access to OctaiPipe Portal.
Next click the blue Launch button. This should take you back to the Notebooks tab where you should see your Notebook. You might need to refresh the page to see your Notebook. It sometimes takes a few minutes to provision the Notebook as it needs to spin up additional resources to make it available.
After a couple of minutes your Notebook should show up as ready with a green tick next to it.

In the event that there are not enough resources available, you will see a warning message and the kubernetes node pool will automatically be scaled up to meet your requirement, this may take a few minutes. Highlight the orange triangle to view the current launch status and any error messages.

To see logs relating to notebook launch and scaling, click on home, activity. In the example below we can see that node was unable to scale up due to the max capacity of the node pool being reached. If you require resources beyond the node pool’s max capacity, you will need to contact your administrator to request an increase.

Accessing the Notebook#
Press Connect to access the OctaiPipe Workspace.
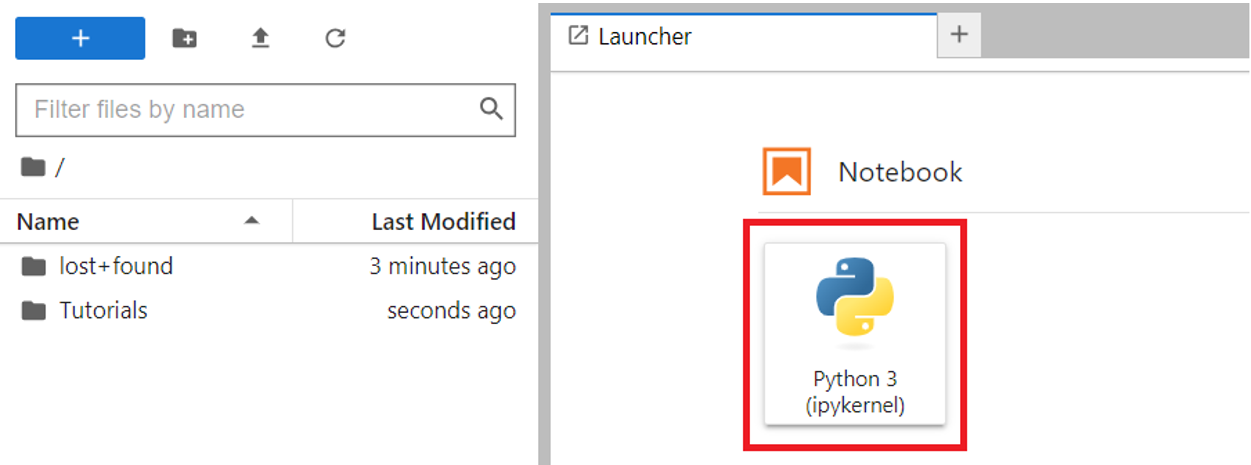
Once inside the Notebook Server, start a Python 3 Jupyter Notebook.
Import OctaiPipe by running
import octaipipeand follow the login procedure through the link using the code produced.

Once you have authenticated, you should now be able to use the Notebook server for running OctaiPipe code.